Finding time to check on your house is quite important. After all, it is your safe haven and as the term suggests, it should always remain safe to live in. Just like anything that we use all the time, our house can get old and deteriorate too. It’s best to do inspections regularly and look for damages. It’s great if you find no damages at all but in case you find any, make sure that repairs will be done as soon as possible so it won’t worsen.
One of the most common and visible damages in a house can be found on its walls. Does your house have minor cracks on the walls? Are there rough, uneven surfaces on your walls making it hard for you to decorate? Worry not. Life is tough these days but your wall’s makeover doesn’t have to be! Plaster skim coats are the answer.
What is skim coating?
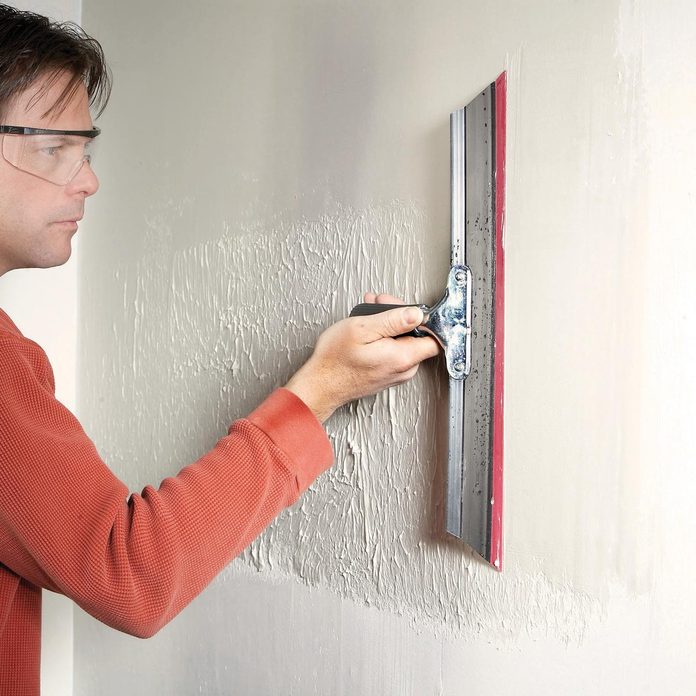
Skim coating is basically a method of applying layers of gypsum-based joint compound over a specific surface. It can be used as a quick and long-term solution to repair a crack, fill a joint, or simply smooth out an area on your walls. With skim coating, your walls can finally say goodbye to bumps and lumps! It is indeed the ultimate makeover for your walls.
The only question now is, how do you skim coat your wall?
To be honest, skim coating is a highly technical texturing technique. And doing it without any experience might cause you more money and stress. Letting a professional do the job is the best option. But if you’re confident enough that you’ll be able to do skim coating on your own, there are many do-it-yourself guides on skim coating you can find online. Some guides even have simple and easy steps to follow. Meanwhile, here are some tips to help you with your first DIY plaster skim coats.
1. Save your furniture from dust and splatter. Since fixing up your walls can be dusty, make sure to remove all the furniture you can move out of the room you’re working at. For the ones that you cannot move, cover them with plastic sheeting. Also, remember to cover the floor and the doorways to contain the dust and splatters within the room where you are working.
2. Before starting, check the damages on your wall and determine how mild or severe they are. Make sure to repair the damages first especplaially if there’s a lot. If there are holes, you can fill them with joint compounds. For cracks, apply joint tape to prevent them from spreading further.
3. Make sure to thoroughly clean your walls before you start skimming. Dust the wall first and if necessary, wash it with water or any wall-friendly cleaning product. You can also use a sponge or a towel to wipe the surface. Cleaning the walls before skimming will help you achieve a smooth finish with as few coats as possible.
4. Since skimming is a time-sensitive job, gathering all the materials you need first before starting will definitely help you save time and effort.
Additional tip: Do not use spackling. It is often mistakenly used as a skim-coat but actually, it’s harder to spread and more difficult to sand so it’s better not to use it.
May you have smooth and crack-free walls, primed for decorating!